Minecraft in the Vision Pro
February 5, 2024
Inspiration
When I first got the Vision Pro on Friday, one of my favorite first experiences was the dinosaur demo. Getting a chance to see 3D models up close in such high resolution gives a sense of depth and intuitiveness I’ve never experienced before.
Over the weekend I knew I wanted to do a project that leveraged 3D assets, but I am not an expert 3D designer so I knew I wasn’t going to be able to build all the necessary models in just a couple of days. Instead, I turned to my favorite video game growing up: Minecraft. Minecraft’s world generation did all of the heavy lifting of creating fascinating 3D models. All I had to do was write a script to convert world files into USDZ’s and build a visionOS app to showcase the awesome depth and detail in the models.
Converting World Files into USDZ
Currently, the workflow for converting Minecraft worlds is simple:
- Log into Minecraft and find your world of choice
- Use the Minecraft coordinate system to record the coordinates of opposite diagonals of the volume you want to bring into Vision Pro
- Run my bash script
convert_world.shto turn the world into a USDZ file - Add the file to the Xcode project and add it to the WorldTypes in
WorldEntity+Configuration.swift
To create this conversion script, I relied on two main software packages.
- Jmc2Obj to convert Minecraft world files to .obj and .mtl files
- Apple’s usdzconvert to then convert those object files into USDZ’s compatible with the Vision Pro
The conversion script provides all the necessary parameters for Jmc2Obj and usdzconvert to generate crisp Minecraft models with the correct material properties to look as they do in the game.
Building the Vision Pro App
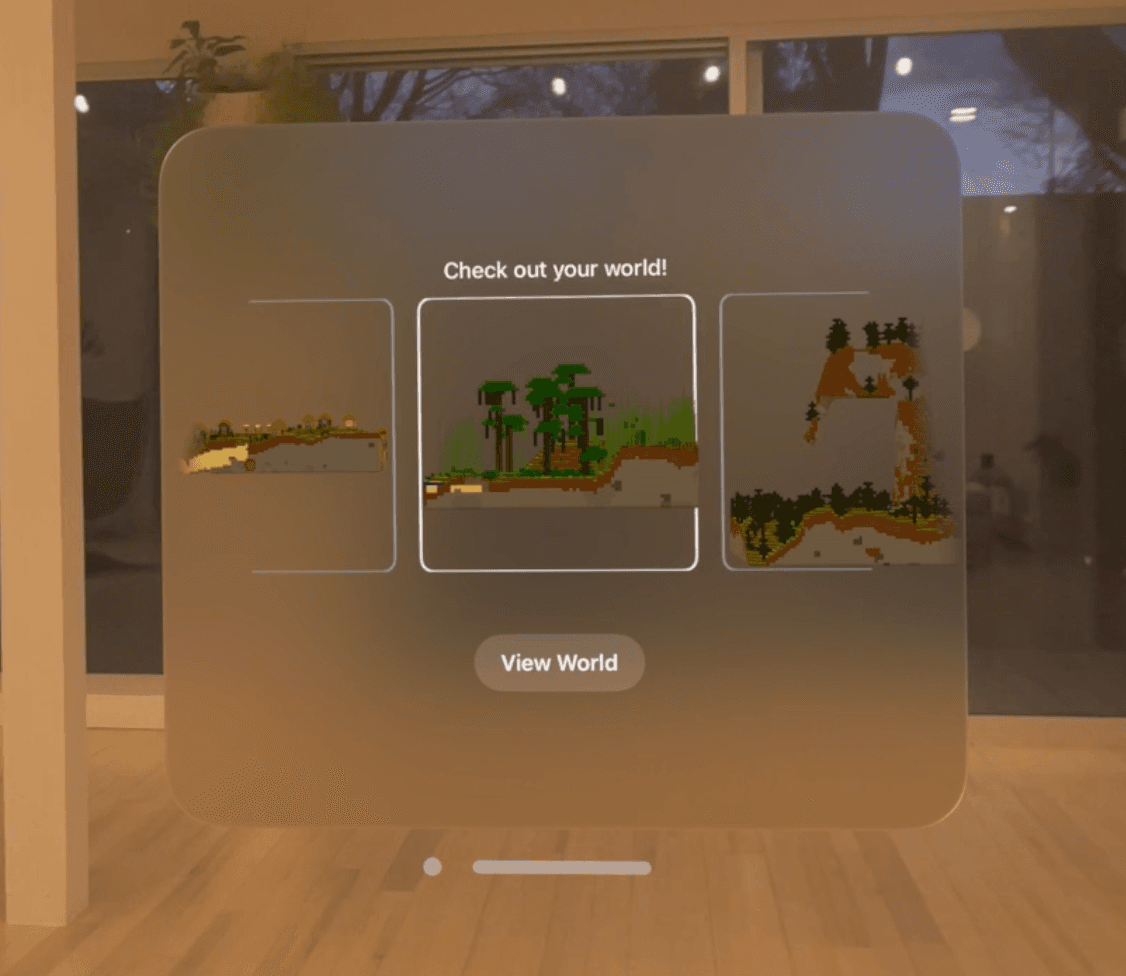
The app itself consists of two views: a window showing all available world models and a volume where you can interact with the models themselves.

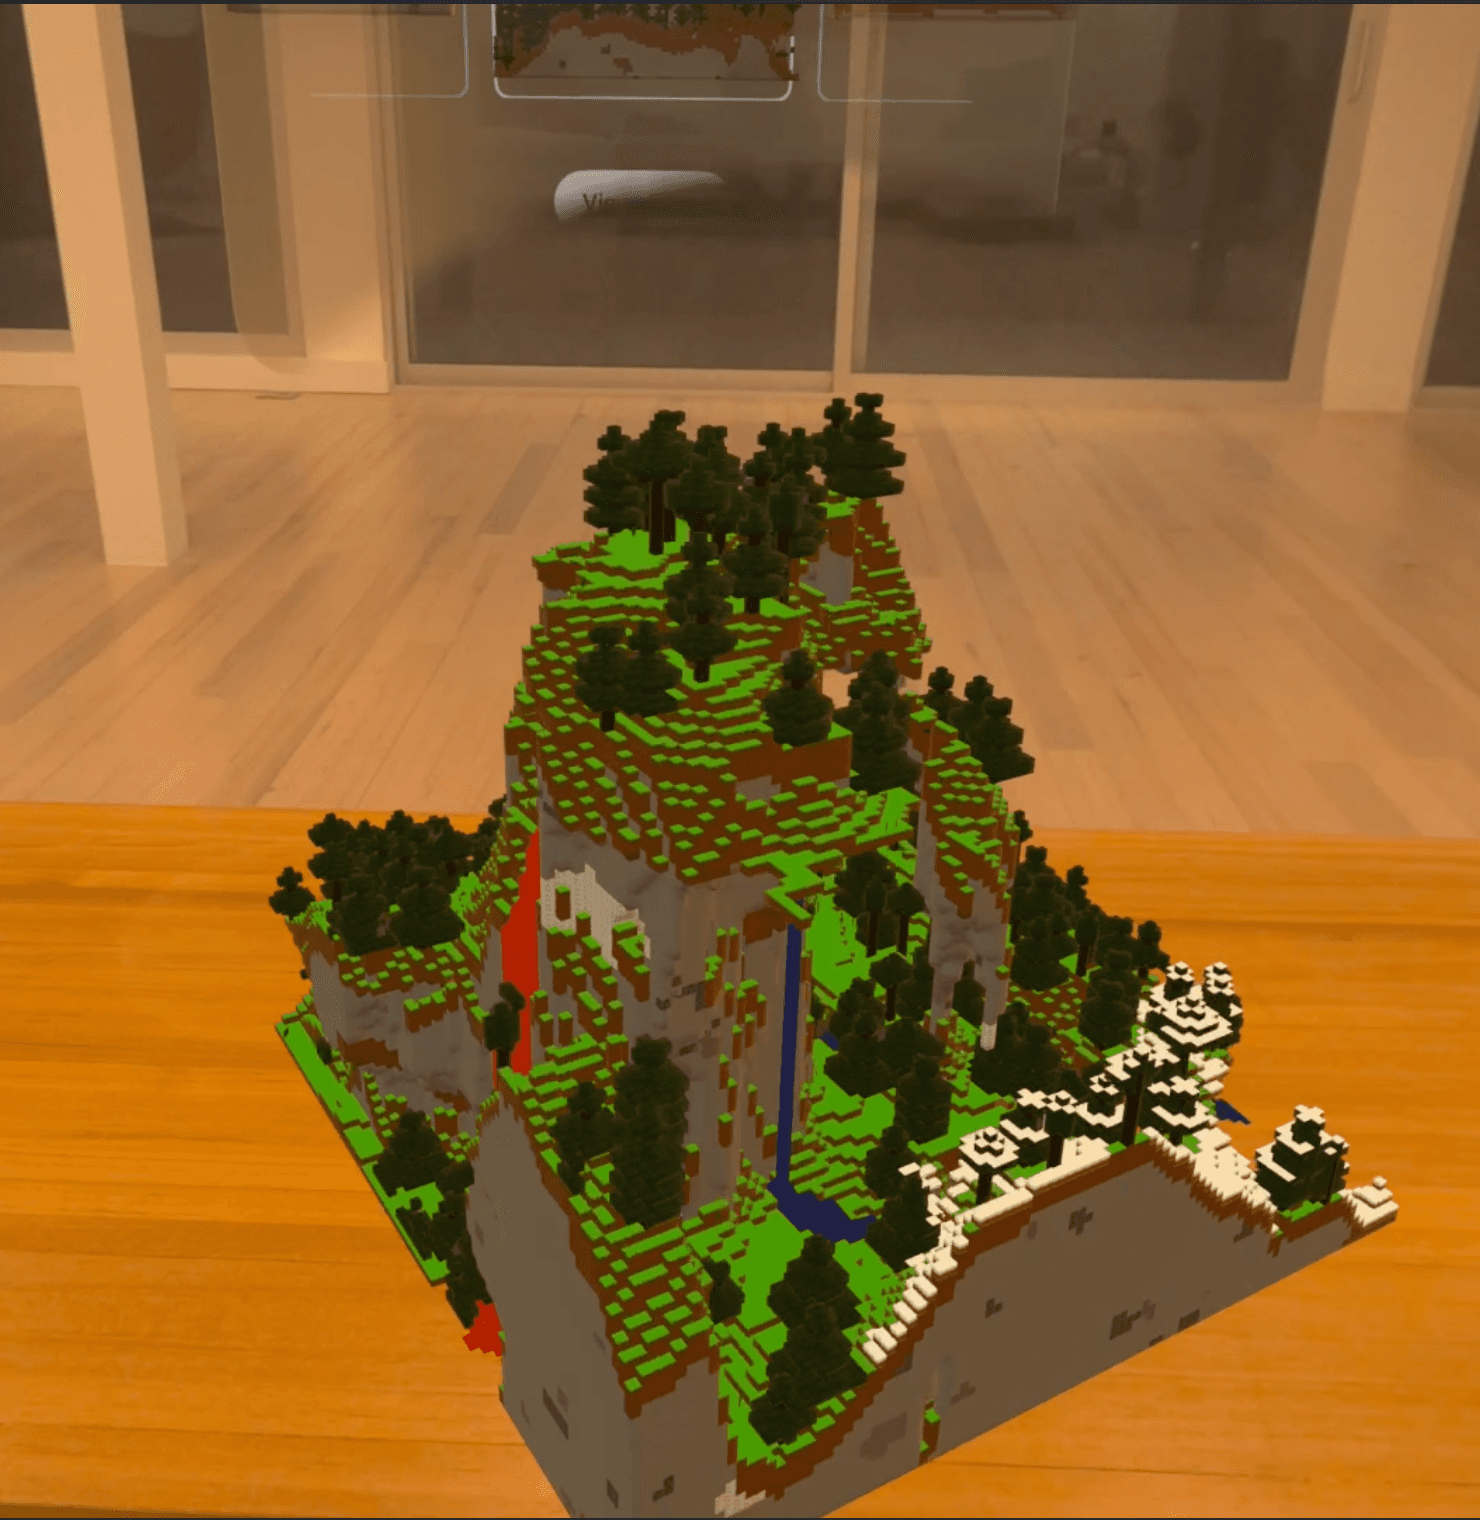
As you can see above, the window embeds each model in a custom-built carousel letting you either tap on worlds to select them or scroll through and snap to whichever one you are looking at. Whenever you are ready to choose your world, clicking View World brings up a volume for you to inspect the environment.

You can position the model wherever you want as well as use the spatial drag gesture to rotate the world around its Y axis. If you select a different world in the window, the volume will update to the new one while still maintaining its orientation.
Technical Challenges in this Project
- The conversion script had to be tuned specifically because Minecraft textures are meant to be flat and non-reflective
- Working with rotating the volume taught me how to work with Spatial Drag Gestures as well as how to translate gesture movement into 3D rotation around a specified axis (seen in the
DragRotationModifier.swiftfile adapted from the HelloWorld tutorial) - I had to build the
CarouselView.swiftfrom the ground up.- The CarouselView shows a horizontal ScrollView of different Model3Ds of the worlds themselves
- I designed it to have two key interactions:
- Look and tap gesture to select one of the worlds
- Drag gestures to slide through a horizontal scroll view that would then snap to the centered world and select it.
- Getting both of these interactions to work fluidly in the VisionPro took a custom solution: ScrollViews do not let you apply DragGestures to measure how far you have dragged. This means that you could not calculate the offset to apply a snapping scroll effect to select worlds.
- To solve this I built a timer system paired with geometry readers to check the geometry readers offset receptively and detect changes as a drag. From there I was able to convert an offset to the corresponding world in the horizontal view and apply the snaps.
- I also had to connect the 3d model shown in the volume to the App and Windows ViewModel and have reload logic to replace the volume’s world when you selected a different world in the window. This required having a separate parent entity to track rotation and an inner child world entity with the actual USDZ file that you could swap as you selected different worlds.